

What do you do in a nature journal? How and why should you make one?
Sometimes we can lose natural habitats without a word spoken and it’s as if it never existed. BUT if they can’t be saved at least we can commemorate them. AND that’s one great reason to make a nature journal. To enjoy a green space while it’s still there.
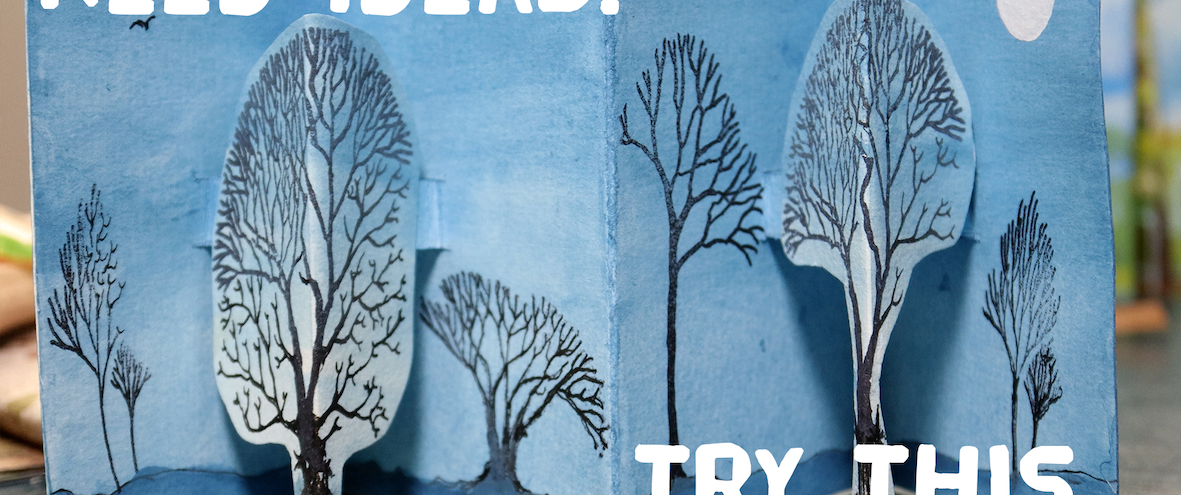
Nature journals can be used to map the seasons, be a visual exploration of a walk and in this case enjoy, commemorate and pay respect to an avenue of trees that are in danger of being chopped down and replaced with a road.
The accordian style journal is perfect for illustrating an avenue of trees. I showed how to make a concertina style journal in a previous post, but I’m going to create a simplified version with pop-up trees here.
- Materials
- Paper, A4 size watercolour paper.
- Scissors or craft knife and cutting mat.
- Pencil, black pen and ruler.
- Paint/ink/coloured pencils or inkpad and stamps.
- White glue, glue stick or double-sided tape
- Step-by-step instructions
- Take a piece of A4 watercolour or thick cartridge paper and cut in half along the length.
- Fold one of the pieces of watercolour paper in half lengthways and fold each end to the centre and refold to create a zig-zag or accordian-style format.
- Cut slots in the centre at the back of two of the folds that measure at least 7cm (2 and a half inches) by 1cm (half an inch). Push the tabs out to sit between the pages and refold.
- Draw/paint/print/collage two trees that are the correct size to sit on the tabs, on the remaining watercolour paper. Cut them out and fold in half lengthways.
- Paint a background onto the zig zag pages.
- Attach the trees to the tabs using glue or double-sided tape, aligning with the centre folds.
- Decorate the cover or glue the front to a folded piece of card that’s slightly bigger than the pages.
- Tips
- Make sure the trees are smaller than the pages that they will sit inbetween and are fairly symmetrical.
- Paint a background before adding the trees.
- Use paper that is strong enough to hold the trees.
- Optional
- Optional: You can glue the pages together at the back and make a more conventional book.
- You can add a cover or use the first page as your cover.
- Try using coloured paper for a different background.