
Before I tried doing what I’m going to show you here, it would take me two years to fill a sketchbook.
Many of my sketchbooks I never finished at all. Just a sad lonely sketch at the front.
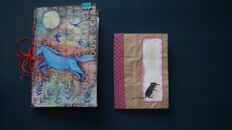
Now I can complete one of my little homemade art journals in a few weeks. With one of these I feel more motivated to complete it and keep on journalling.
Watch the video for a step-by-step guide to making your own journal or read the following:
Step one: Choose the inside papers: They will need to be roughly the same size. Use at most four pieces, folded in half.
Step two: Make the cover: Use a paperbag. Pull off the handles and glue all the edges. Fold in half.
Step three: Trim the pages: Use a cutting mat, a ruler and a craft knife or scissors. Trim the edges when they are folded in half to the same width.
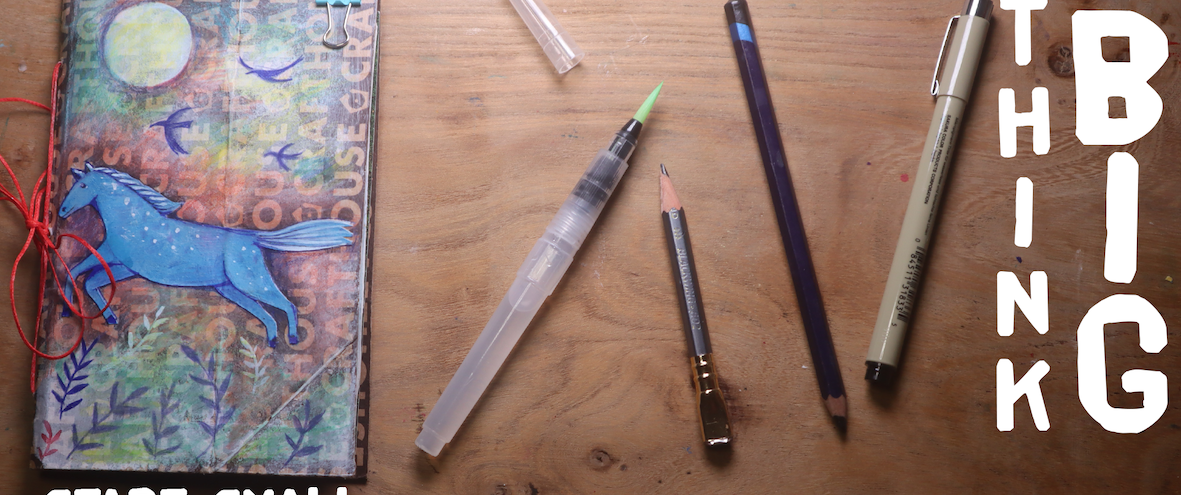
Step four: Decorate the cover. Add a title.
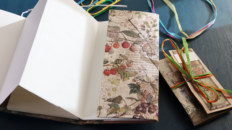
Step five: Fold your cover in half and insert the inside pages, making sure they fit and that you are happy with the order of the pages.
Step six: Clip the pages to the cover using bulldog clips or large paper clips. Make sure the centre fold of the cover and pages is aligned.
Step seven: Place the open cover and pages over a cutting mat or appropriate protective surface and pierce a hole in the centre of the fold.
Step eight: Pierce two more holes through the pages and cover, one near the top of the fold and one near the bottom. Stitch together using three-hole pamphlet stitch.
If you want more details on the three-hole pamphlet stitch go here: three-hole pamphlet stitch